
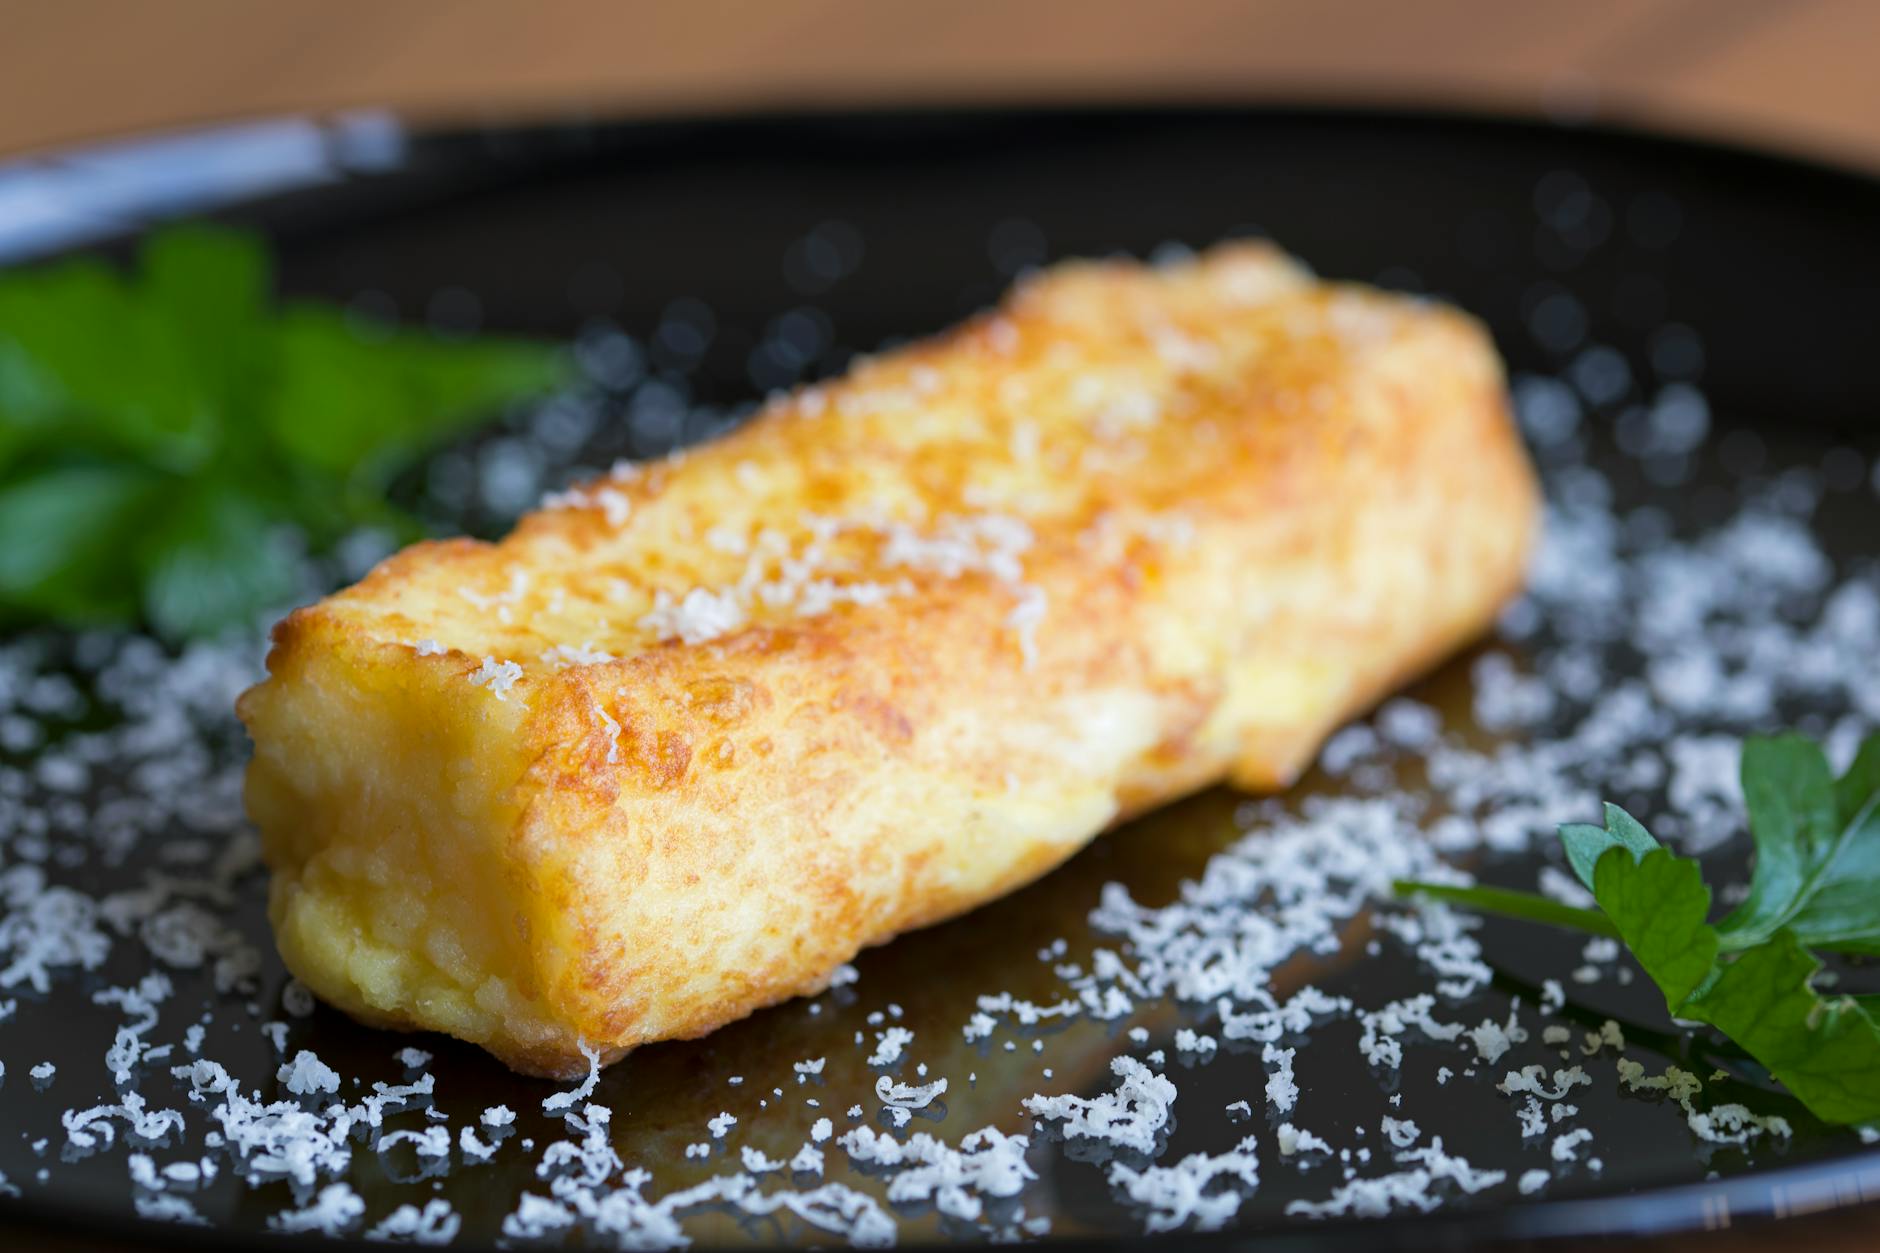
Remember those iconic school cafeteria treats? The ones that were simple, satisfying, and tasted like pure joy? Our No-Bake Lunch Lady Bars are here to whisk you straight back to those nostalgic days, but with a modern, gourmet twist that makes them even better than you remember. This isn’t just a dessert; it’s a journey back in time, a warm hug of flavor, and an incredibly easy way to create smiles. Forget the oven, because all the magic happens with just a few pantry staples and a little bit of chill time, making them the ultimate fuss-free sweet. Imagine a thick, buttery graham cracker and peanut butter base, perfectly balanced between crumbly and chewy, crowned with a rich, glossy layer of dark chocolate ganache. Each bite delivers that unmistakable combination of sweet and savory, a symphony of textures that will have you reaching for another piece before you’ve even finished the first. Whether you’re making them for a party, a family gathering, or simply to treat yourself to a taste of yesteryear, these bars are guaranteed to be a hit. They’re effortlessly delicious, delightfully simple, and absolutely irresistible.
The Story Behind
The concept of simple, hearty, and often no-bake dessert bars has been a staple in American home kitchens and school cafeterias for generations. While the exact origins of the ‘Lunch Lady Bar’ recipe remain somewhat elusive, tracing back to the mid-20th century, these treats became synonymous with the comforting, practical desserts served in school lunchrooms across the country. They represented an era where ingredients were often humble but combined to create profoundly satisfying flavors. Often found in community cookbooks or passed down through family recipes, these bars embody a spirit of resourcefulness and culinary tradition, delivering maximum deliciousness with minimal fuss. Their enduring popularity lies in their universal appeal: a perfect blend of sweet, salty, and crunchy textures, making them a timeless classic that continues to evoke warmth and nostalgia.
Why This Recipe Works
- Requires absolutely no baking, saving time and keeping your kitchen cool.
- Uses common pantry staples, making it an accessible and budget-friendly dessert.
- Incredibly easy to make, perfect for novice bakers or involving kids in the kitchen.
- The combination of sweet peanut butter and rich chocolate is a guaranteed crowd-pleaser.
- Excellent for meal prep; they can be made ahead and stored for days.
Step-by-Step Instructions
1. Crush the Graham Crackers
Place the graham crackers in a large zip-top bag and use a rolling pin to crush them into fine crumbs. Alternatively, pulse them in a food processor until evenly crushed. Aim for a fine, sand-like texture, ensuring no large chunks remain for a smooth base.
2. Combine Base Ingredients
In a large mixing bowl, combine the crushed graham cracker crumbs, melted unsalted butter, creamy peanut butter, and powdered sugar. Stir well with a sturdy spoon or spatula until all ingredients are thoroughly combined and a thick, uniform mixture forms. It should resemble wet sand.
3. Press into Pan
Line an 8×8 inch (or 9×9 inch for thinner bars) baking pan with parchment paper, leaving an overhang on two sides for easy removal. Evenly press the peanut butter mixture into the bottom of the prepared pan. Use the back of a spoon or your hands to compact it firmly and smoothly.
4. Prepare Chocolate Topping
In a microwave-safe bowl, combine the semi-sweet chocolate chips and heavy cream. Microwave in 30-second intervals, stirring well after each, until the chocolate is fully melted and smooth. Stir in the vanilla extract and a tiny pinch of salt to enhance the flavor.
5. Pour and Chill
Pour the smooth chocolate ganache evenly over the pressed peanut butter base. Gently spread it to the edges of the pan using a spatula. Place the pan in the refrigerator for at least 3 hours, or until the chocolate topping is firm and the bars are set.
6. Slice and Serve
Once thoroughly chilled and firm, lift the bars out of the pan using the parchment paper overhang. Place them on a cutting board. Use a sharp, hot knife (run it under hot water and wipe dry between cuts) to slice the bars into 16 squares. Serve immediately and enjoy!
Chef Tips
- Achieve a Smooth Cut: For clean slices, chill the bars thoroughly (at least 3 hours, or overnight). Dip your knife in hot water and wipe it dry before each cut to prevent the chocolate from cracking or dragging.
- Peanut Butter Choice: Use creamy, processed peanut butter (like Jif or Skippy) for the best texture and consistency in the base. Natural peanut butter can sometimes separate or make the base too oily.
- Lining is Key: Always line your pan with parchment paper, leaving an overhang. This makes it incredibly easy to lift the entire batch of bars out of the pan for neat slicing.
- Don’t Overheat Chocolate: When melting chocolate chips with cream, microwave in short bursts and stir frequently. Overheating can cause the chocolate to seize or become grainy. Low and slow is the way to go.
- Customization: Feel free to sprinkle a pinch of flaky sea salt on top of the chocolate layer before chilling for an elevated flavor profile, or add colorful sprinkles for extra fun.
Frequently Asked Questions
How long do No-Bake Lunch Lady Bars last?
These bars can be stored in an airtight container in the refrigerator for up to a week. They are best enjoyed within 3-5 days for optimal freshness and texture.
Can I use a different type of cookie for the base?
Yes! While graham crackers are traditional, you can experiment with other plain, crisp cookies like Nilla wafers, shortbread, or even digestive biscuits. Just ensure they are finely crushed.
Can I make these dairy-free?
Absolutely! Substitute the unsalted butter with a plant-based butter alternative and use dairy-free semi-sweet chocolate chips along with a plant-based cream (like full-fat coconut cream or oat milk creamer). Ensure your peanut butter is also dairy-free.
Nostalgic No-Bake Lunch Lady Bars: A Retro Treat for Modern Cravings
Ingredients
- 2 cups (about 1.5 sleeves) graham cracker crumbs
- 1/2 cup (1 stick) unsalted butter, melted
- 1 cup powdered sugar
- 1 cup creamy peanut butter
- 1 1/2 cups semi-sweet chocolate chips
- 1/2 cup heavy cream
- 1 teaspoon vanilla extract
- Pinch of sea salt (optional, for topping)